Shopping Cart (${ cart.item_count })

Your cart is currently empty.

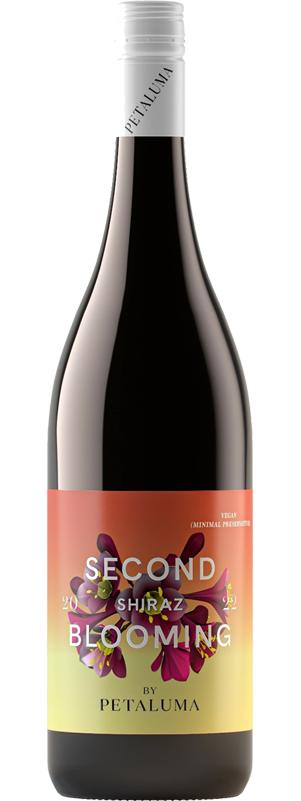
Petaluma Second Blooming Shiraz

${ product.price | currencyFromCents }
${ finalBottlePrice | currencyFromCents } ${ productLabel }
Distinction Wines Logo Join or Login for member prices
${ finalCostPerCaseOrPackNonDiscounted | currencyFromCents } ${ finalCostPerCaseOrPack | currencyFromCents } ${ caseOrPackLabel } of ${ bottlesPerCase || bottlesPerPack }
Add To Cart Out of Stock
${ currentVariantInCart.message }
Medium Bodied
range Second Blooming
region Limestone Coast
varietal Shiraz

Vibrant in the glass, displaying all the uplifted nuances of our Limestone Coast vineyards. A perfect reflection of vineyard to glass without much intervention.

Tasting Notes

Light Bodied Full Bodied
files/Petaluma_Icon_64x64_d2faafa7-80ec-4bbe-b9ec-283a0ebe1bcf.png
Dry Sweet
files/Petaluma_Icon_64x64_d2faafa7-80ec-4bbe-b9ec-283a0ebe1bcf.png
Fruity & Aromatic Bold & Complex
files/Petaluma_Icon_64x64_d2faafa7-80ec-4bbe-b9ec-283a0ebe1bcf.png
Second Blooming is a contemporary and minimal preservative wines. Embodied by the beauty of South Australia's native blooms. Vibrant in the glass, displaying all the uplifted nuances of our Limestone Coast vineyards. A perfect reflection of vineyard to glass without much intervention. Vibrant crimson red with in colour with slight purple hues. Aromas of bright fresh red and dark berry with hints of mint followed by a generous plush, juicy blackberry flavour on the palate with soft round tannins.
FULL TASTING NOTES

Serving Suggestions

Make the most of your Wine

How to Serve
How to Serve
Best served between 16 and 18 degrees
Which Glass
Which Glass
A standard red wine glass will suit
Food Pairing
Food Pairing
Fun and modern share plates - think tapas or charcuterie.
How to Cellar
How to Cellar
Ready to drink now

Explore More Wines

${ product.price | currencyFromCents } ${ finalBottlePrice | currencyFromCents }
${ productLabel }
${ finalCostPerCaseOrPackNonDiscounted | currencyFromCents } ${ finalCostPerCaseOrPack | currencyFromCents } ${ caseOrPackLabel } of ${ bottlesPerCase || bottlesPerPack }  
${ currentVariantInCart.message }
View